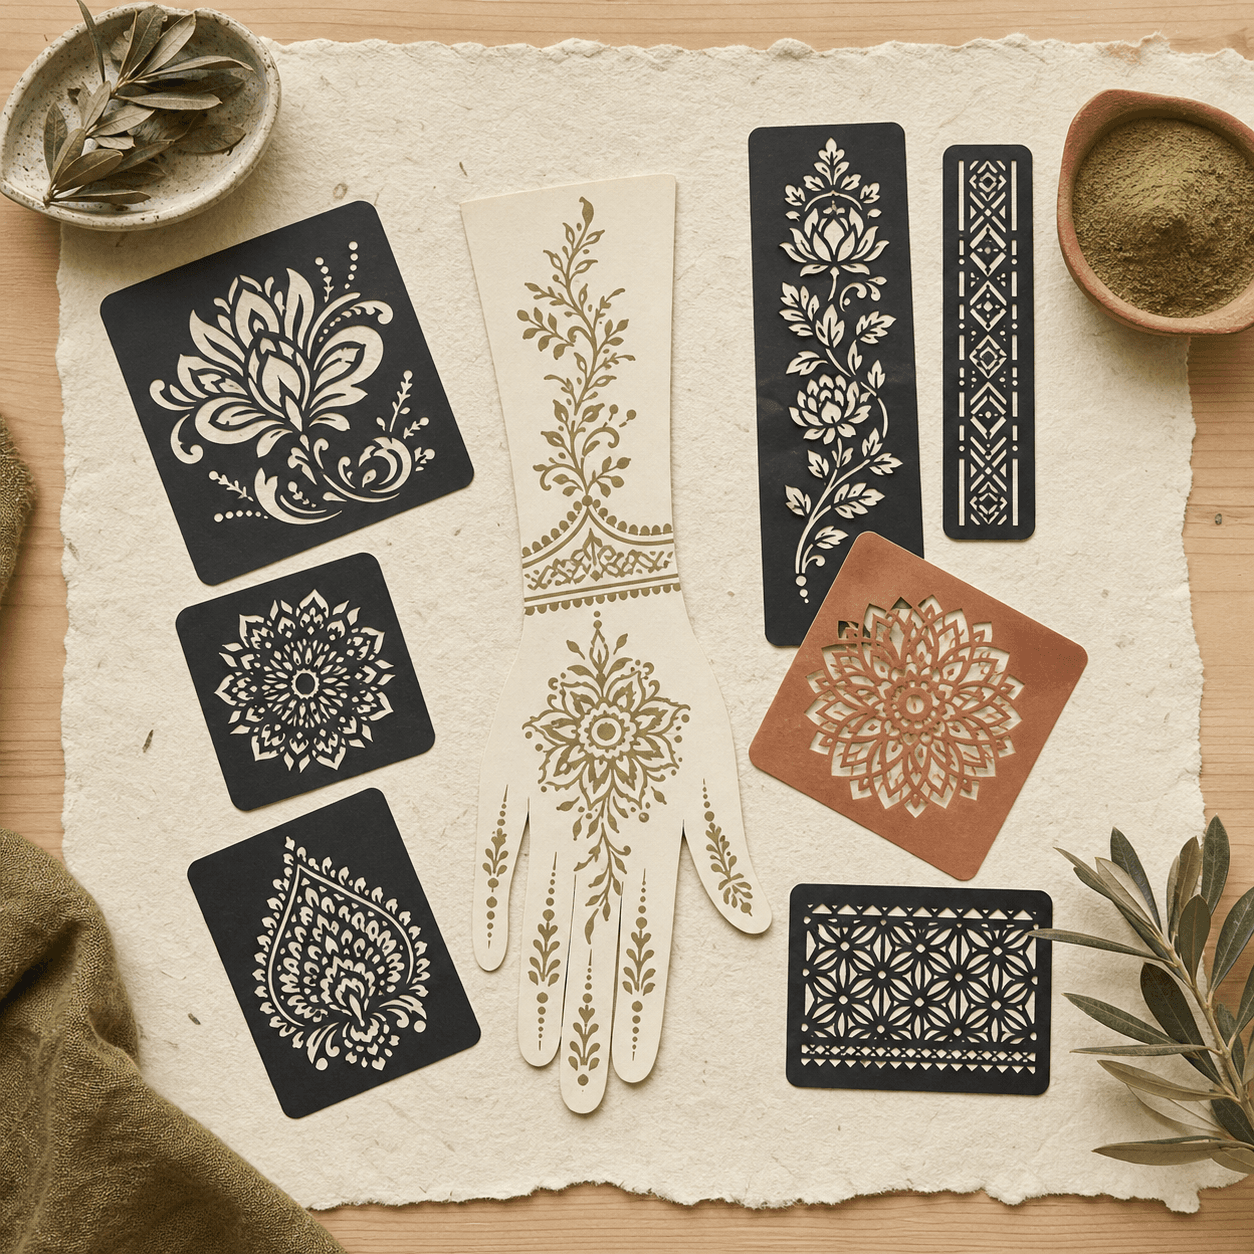
Henna stencils help beginners place a repeatable outline, but they do not make every result automatic. The cleanest designs come from choosing an appropriate stencil, preparing intact skin, securing the edges, applying a controlled layer of disclosed natural-henna paste, and lifting the stencil before dried paste pulls across the pattern.
Use the paste maker's directions first. Confirm every ingredient, expected stain color, storage instruction, and contact time. Natural henna generally develops from orange toward brown or reddish-brown; a product promising an immediate jet-black stain is not ordinary natural henna and needs a complete ingredient explanation.
What you need before you start
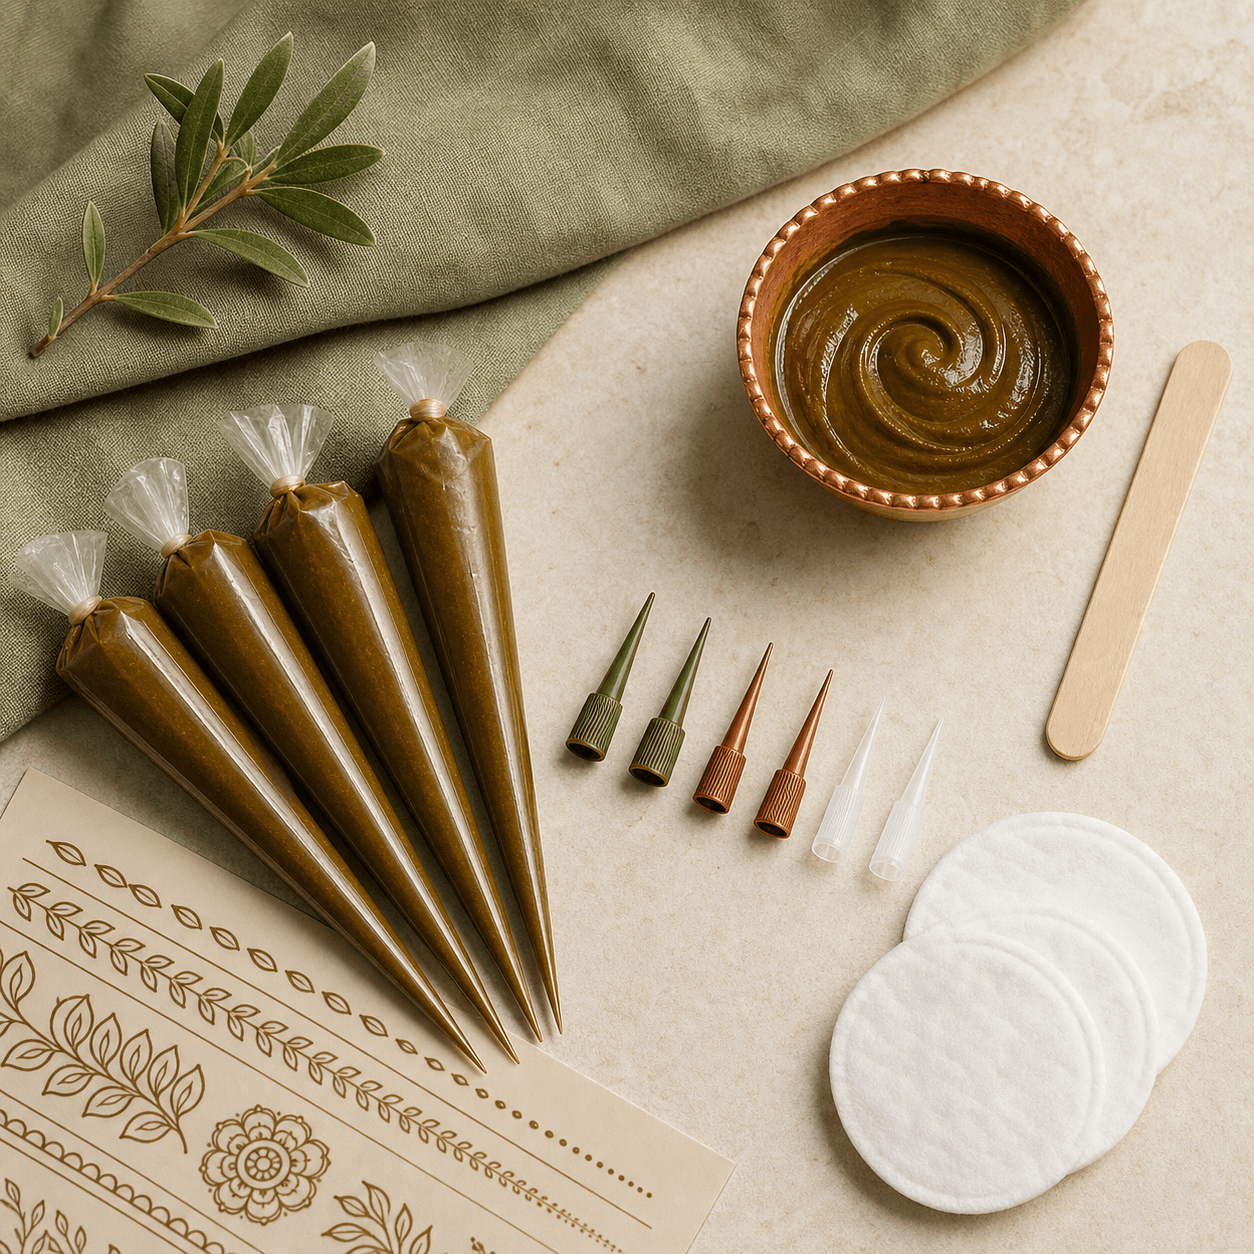
Set up the full workspace before opening the cone. You will need a single-use or clean stencil, clearly labelled henna paste, clean hands, a stable chair and surface, paper towels or wipes for tools, a small waste container, and the product's removal and aftercare instructions.
Choose an applicator you can control. A cone with a very large opening can flood small stencil spaces, while a damaged or blocked tip encourages squeezing that moves the stencil. Test one short line on practice material first. The paste should leave a continuous line without running beneath an edge.
Do not share a cone tip from skin to skin without an appropriate hygiene plan. Westminster environmental-health guidance for henna services recommends single-use applicators and pigment dispensers, or an appropriate method of disinfection between customers, plus handwashing facilities. Local rules differ, but clean hands, protected supplies, and a fresh applicator are sensible standards anywhere.
Choose a stencil that matches your skill
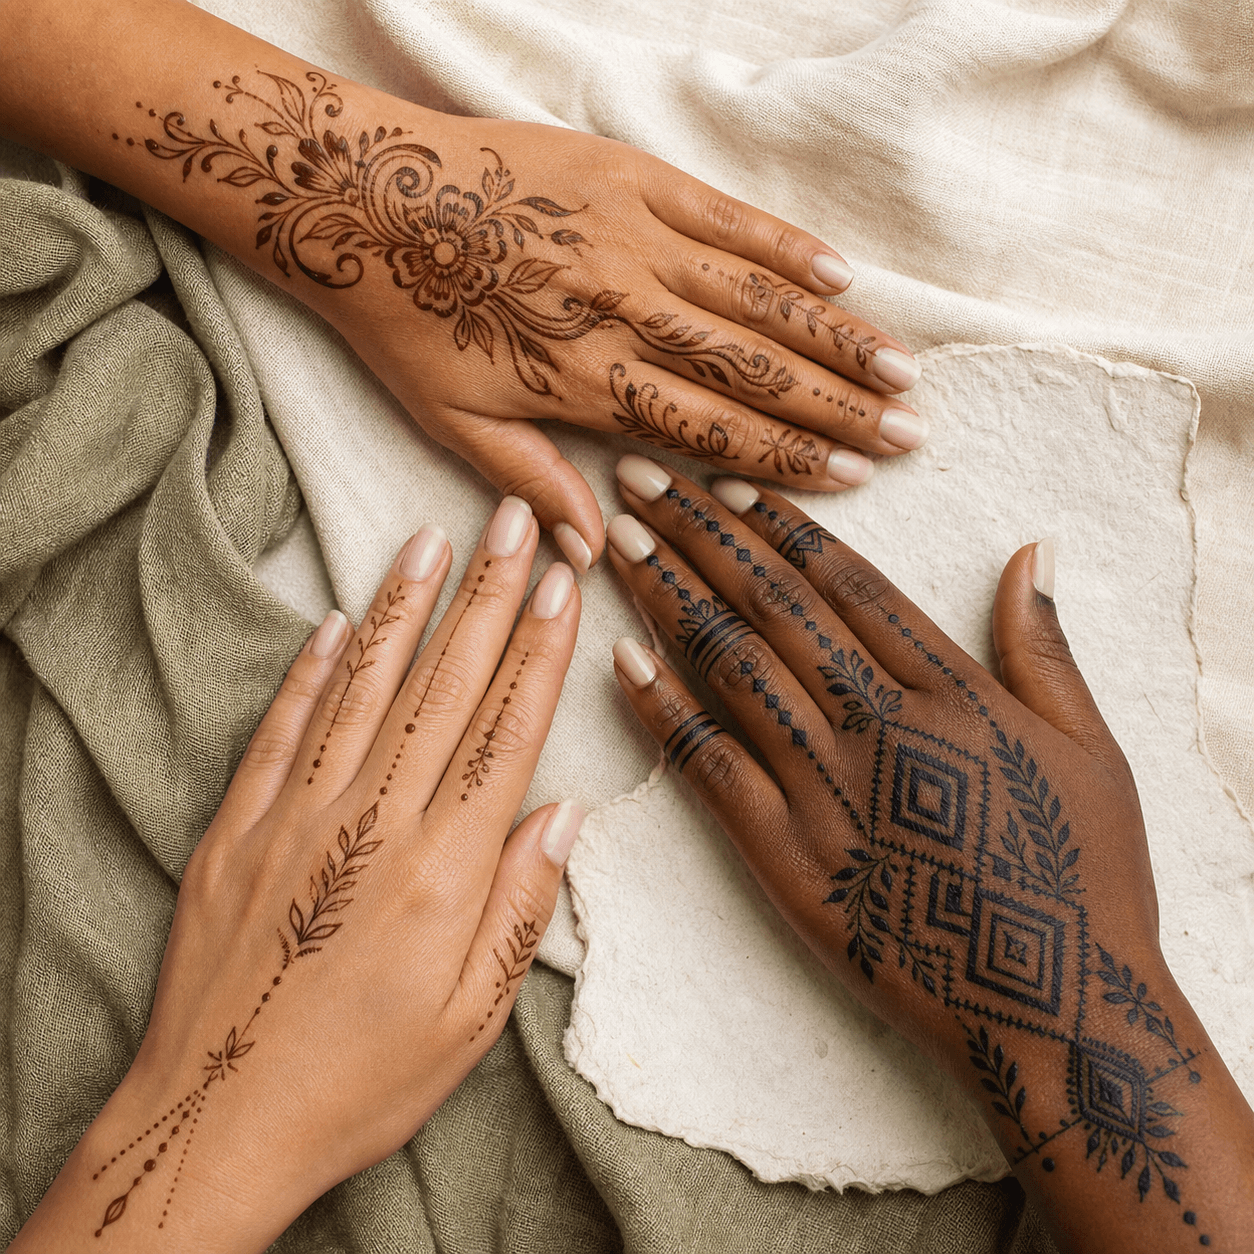
For a first attempt, pick a design with open petals, broad leaves, simple bands, or separated geometric shapes. Very fine lace, tiny enclosed dots, and long narrow bridges demand more control and are more likely to lift with the stencil.
Match the design to the body area. A flat forearm or back of the hand is easier than a knuckle, ankle bone, or strongly curved wrist. Check the stencil size against the area before removing its backing. A pattern that crosses a deep crease may distort when the person moves.
Inspect the stencil itself. Edges should be clean, the cutouts should match the advertised design, and adhesive products should arrive protected and unused. Follow any age, allergy-test, or single-use statement from the maker. Do not reuse a disposable adhesive stencil on another person.
Prepare skin and position the design
Apply only to intact skin. Skip cuts, scratches, sunburn, rashes, eczema flares, or areas that are already irritated. Ask about previous reactions to henna, temporary tattoos, adhesives, fragrances, or cosmetics. A stencil is only a placement tool; it does not reduce the risks of an unknown paste.
Wash the area gently and dry it completely. Avoid leaving lotion, body oil, sunscreen, or heavy soap residue where the adhesive needs to grip. Do not scrub the skin raw or use a strong solvent to improve adhesion.
Ask the wearer to relax in the position they can maintain during application. Hold the stencil above the skin to confirm direction and spacing. For a symmetrical placement, mark only with a skin-appropriate product and follow its directions. Once satisfied, place the stencil from one edge to the other and press around the cutouts without stretching it.
Check for bubbles and lifted bridges. Smooth outward with clean fingers or the stencil maker's tool. If alignment is clearly wrong, replace the stencil rather than repeatedly peeling and resticking a disposable adhesive until it no longer seals.
Apply henna without pushing paste underneath
Work from one side of the stencil toward the other so your hand does not drag through fresh paste. Use light, controlled pressure. Deposit enough paste to cover the exposed skin, but do not build a heavy mound that connects separate cutouts.
For a cone, trace or fill the openings in short sections. Keep the tip just above the surface rather than scraping it across the stencil. For a spreadable product specifically designed for stencils, use only the tool named by the manufacturer and pull in one direction with gentle pressure.
If paste leaks under an edge, stop. Wipe the tool, stabilize the stencil, and decide whether the affected space can be cleaned without smearing the rest. Adding more paste rarely fixes a loose edge.
Do not extend the manufacturer's contact time because a stencil design looks pale. Fresh natural henna paste can look green-brown or dark on the surface while the eventual skin stain follows a different timeline.
Lift the stencil cleanly
Follow the stencil and paste instructions for removal timing. The practical goal is to lift without dragging wet paste across open skin or allowing completely brittle paste to pull the design apart.
Ask the wearer to stay still. Start at one corner and peel slowly back over the stencil rather than pulling straight upward. Support nearby skin with a clean hand when appropriate. Discard a single-use stencil immediately so the adhesive and paste cannot transfer to another person or surface.
Do not rub the finished pattern. If one edge needs correction, use a clean, precise tool and avoid broad wiping. Small imperfections are usually less noticeable than a large smear created by overworking the design.
Let the paste and stain develop
Use the paste maker's directions for drying, contact time, and removal. Do not wrap the area with an unsafe material or so tightly that it becomes uncomfortable. Keep wet paste away from eyes, mouth, clothing, furniture, children, and pets.
After removal, a natural-henna stain commonly appears orange before developing toward brown or reddish-brown. Exact color and duration vary with formula, body area, contact time, skin, and normal shedding. A stencil controls shape, not stain depth.
If burning, strong itching, swelling, blistering, or another concerning reaction begins, remove remaining product as directed and seek medical advice. Trouble breathing, facial swelling, faintness, or rapidly worsening symptoms require urgent help. Preserve the product label and photograph the pattern.
Troubleshoot common stencil problems
**Blurred edges:** The skin may have been oily, the stencil may have lifted, or excess paste may have been pushed underneath. Use less pressure and secure every bridge before filling.
**Missing sections:** A cutout may not have been filled or the stencil may have lifted paste during removal. Inspect coverage before peeling and lift slowly.
**Cracked paste:** The layer or drying conditions may not match the product directions. Do not add random sealants; use only a method suitable for the formula.
**Uneven placement:** Confirm orientation while the backing is still attached. On curved areas, use smaller motifs rather than forcing one large flat stencil.
Practice first on a flat training surface, then choose a small design on intact skin. A stencil is most useful when it supports good technique rather than replacing ingredient checks, hygiene, and realistic stain expectations.
Browse henna stencils, compare henna tools and supplies, or review natural henna versus black henna.
Frequently asked questions
Do henna stencils work with any henna cone?
Not necessarily. Use a clearly labelled paste intended for the chosen application and follow its directions. A runny formula or oversized cone opening can spread beneath stencil edges.
Should I remove a henna stencil while the paste is wet?
Follow the product instructions. Lift slowly at the stage that avoids dragging wet paste or pulling brittle paste across the design; there is no universal timing for every formula.
Can adhesive henna stencils be reused?
Treat a disposable adhesive stencil as single-use, especially between people. Reuse can weaken the seal and create a hygiene problem.
Why did henna bleed under my stencil?
Common causes include oily skin, bubbles, lifted stencil bridges, runny paste, too much product, or excessive pressure during filling.